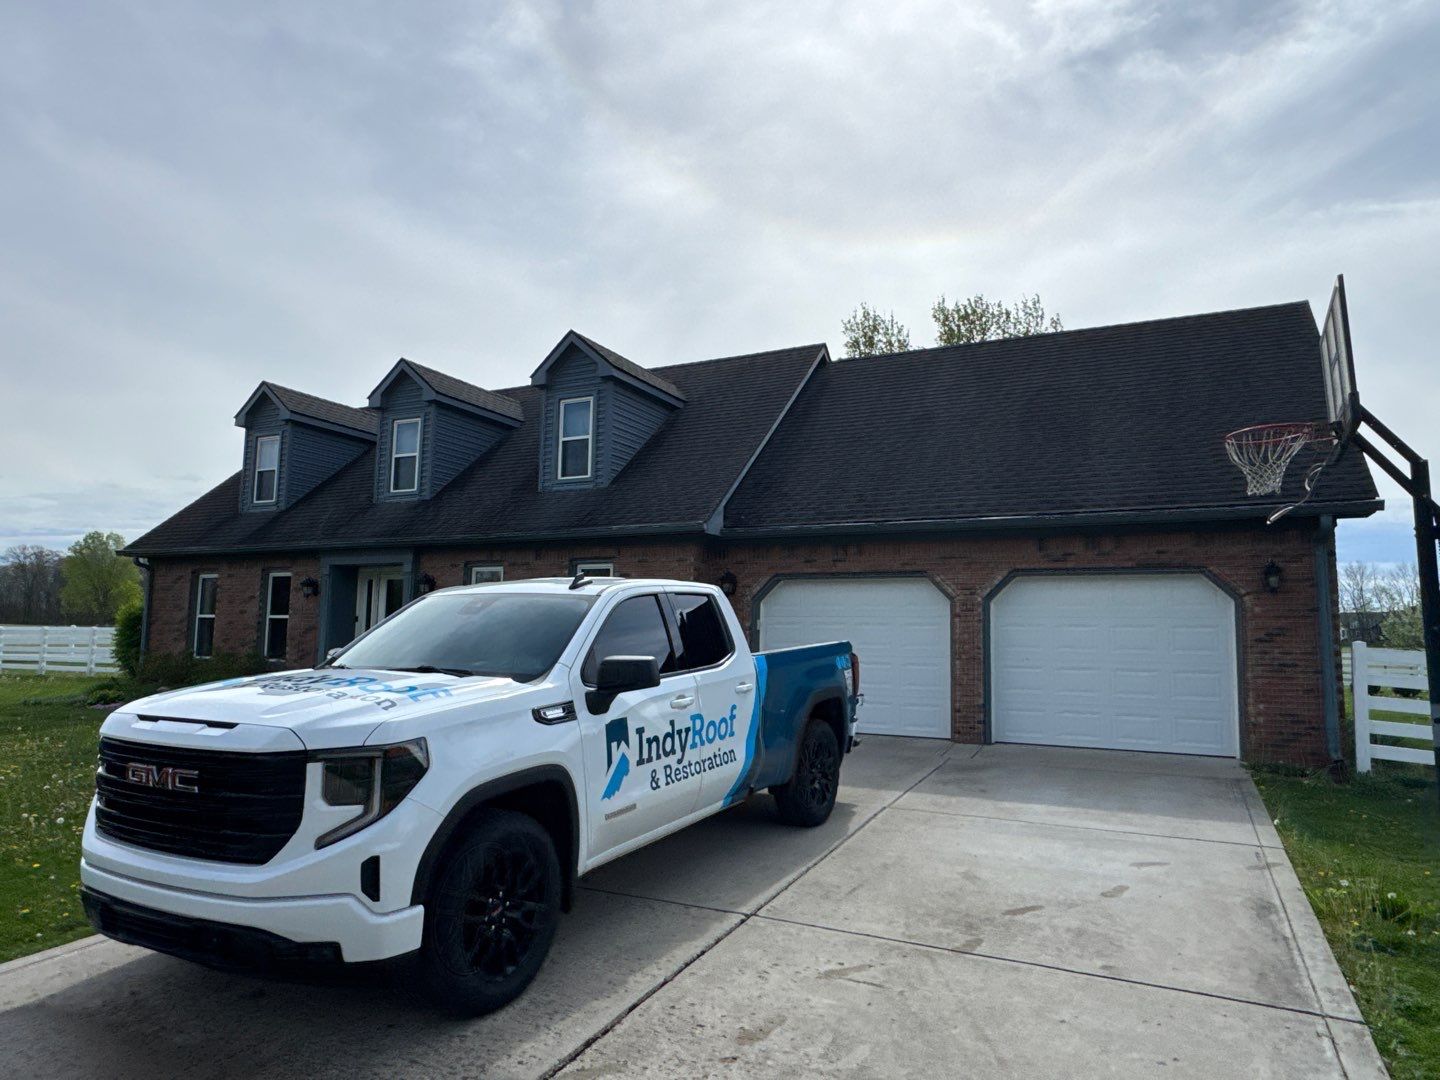
The First 48 Hours: A Numbered Triage Plan
When water is actively coming through, the order of operations matters more than the perfect long term plan. Work this list top to bottom.
- Protect people and electronics. Move staff, inventory, and electrical equipment out of the drip zone before anything else.
- Contain the water inside. Buckets, plastic sheeting, and a small puncture in a sagging ceiling tile to direct flow into one container.
- Photograph everything. Wide shots, close ups, timestamps. Your insurer will want this later.
- Call for an inspection. Severity gets assessed over the phone so the right crew and materials are dispatched.
- Approve emergency tarping or dry in. This stops further interior damage while the permanent repair is scoped.
- Start interior drying. Wet insulation and deck materials grow mold fast if they sit.
- Shut down affected rooftop equipment. If an HVAC unit or exhaust fan sits near the leak, killing power protects the motor and reduces shock risk for the crew.
- Log a single point of contact. One facility manager fielding calls keeps the contractor, insurer, and tenants on the same page.
Where Commercial Leaks Actually Start
On Crossfields commercial buildings, the leak point is rarely where the stain shows up inside. Water travels along decking, joists, and conduit before it drips. The usual suspects:
- Failed flashing around HVAC curbs and roof penetrations
- Split or shrunken seams on EPDM and TPO membranes
- Ponding water that has softened the membrane over time
- Clogged or undersized internal drains and scuppers
- Cracked pitch pans around pipe penetrations
- Wind lifted laps after storms
- Skylight gaskets that have aged out
- Parapet wall coping joints that have separated
- Old satellite or sign mounts that were never properly flashed
- Hairline cracks at the membrane to drain bowl transition
A thorough commercial roof inspection traces the leak from the interior stain back to its actual origin instead of slapping sealant on the nearest suspicious spot. Infrared scans and moisture meters help map where the deck is saturated under the membrane.
What a Credible Repair Scope Includes
If a contractor hands you a one line quote, push back. A real commercial leak repair scope should spell out:
- The leak origin and how it was identified
- Square footage of membrane being removed or overlaid
- Whether wet insulation is being replaced or dried in place
- Type and thickness of replacement membrane or patch material
- Flashing details at penetrations, curbs, and walls
- Warranty terms on the repaired section
- Cleanup and disposal of old materials
- Interior follow up if drywall or ceiling tiles were affected
- Fastener pattern and plate spacing where new insulation is set
- Primer and seam tape specifications matched to the existing membrane
For active emergencies, our commercial emergency roof repair team prioritizes tarping and dry in first, then returns with the permanent scope once the building is stable and the membrane has been properly assessed.
What You Can Do Before the Crew Arrives
- Clear a path to the roof access ladder or hatch
- Pull product, files, or equipment off the floor under active drips
- Notify tenants in writing so they document their own affected property
- Locate your roof warranty and last inspection report
- Save photos and a written timeline for your insurance claim
- Pull any service records for rooftop HVAC work, since recent penetrations are common leak sources
- Flag parking or staging space for the crew truck and material drop
These small steps shorten the repair window and strengthen your claim file at the same time. A tight handoff between the building owner and the Crossfields Roofing crew is often the difference between a leak that gets fixed once and a leak that keeps coming back every storm season.
How to Choose a Commercial Leak Contractor
Not every roofer is set up for commercial work. Before you hand over a building, confirm:
- They carry general liability and workers comp appropriate for commercial scope
- They have experience with your specific membrane type
- They provide written scopes with measurements, not verbal estimates
- They document the leak origin with photos before and after
- They coordinate with your interior water damage team if drywall or ceilings were affected
- They give you a free inspection and a clear estimate before work begins
- They can produce manufacturer certifications for the membrane being repaired
- They handle permits and any required city inspections in Crossfields
When interior damage has already spread, our commercial water damage restoration process runs alongside the roof repair so drying, demo, and rebuild stay on one timeline instead of three.
Red Flags That Mean Repair Will Not Hold
Sometimes the honest answer is that a repair is throwing money at a roof that is already done. Watch for these signs:
- Multiple leak points across different roof sections in the same year
- Widespread ponding that returns within 48 hours of every rain
- Membrane that crumbles or tears when lifted at the seam
- Saturated insulation across more than 25 percent of the roof area
- Visible deck rot or soft spots underfoot
- Original roof age past the warranty period with no recoat history
- Granule loss across most of a modified bitumen roof
- Repeated patches stacked on top of older patches
If two or three of these are present, Crossfields Roofing will walk you through whether targeted repairs still make sense or whether budgeting toward a planned replacement protects the building better over five years.
Typical Repair Cost Ranges in Crossfields
Commercial leak repair pricing depends on roof type, access, and how much wet substrate has to come out. Here is how the common repair categories tend to fall on Crossfields buildings:
Roof Type Matters: Quick Notes by Membrane
The repair approach changes with what is already on the deck. A few quick reads on the systems we see most often across Crossfields:
- TPO: Seams are heat welded. Failed seams can be re welded if the membrane is clean and still flexible. Brittle TPO usually means a section overlay.
- EPDM: Repairs rely on primer and cover tape. Old EPDM that has shrunk past the parapet often needs flashing rebuilt, not just patched.
- Modified bitumen: Torch down or cold applied patches work well around penetrations. Watch for blisters that signal trapped moisture.
- Built up (BUR): Gravel scraping and flood coat repairs are still viable. Cracked flashings at walls are the common failure point.
- Metal: Fastener back out and seam sealant failure drive most leaks. Butyl tape and new gasketed screws fix many of them.